

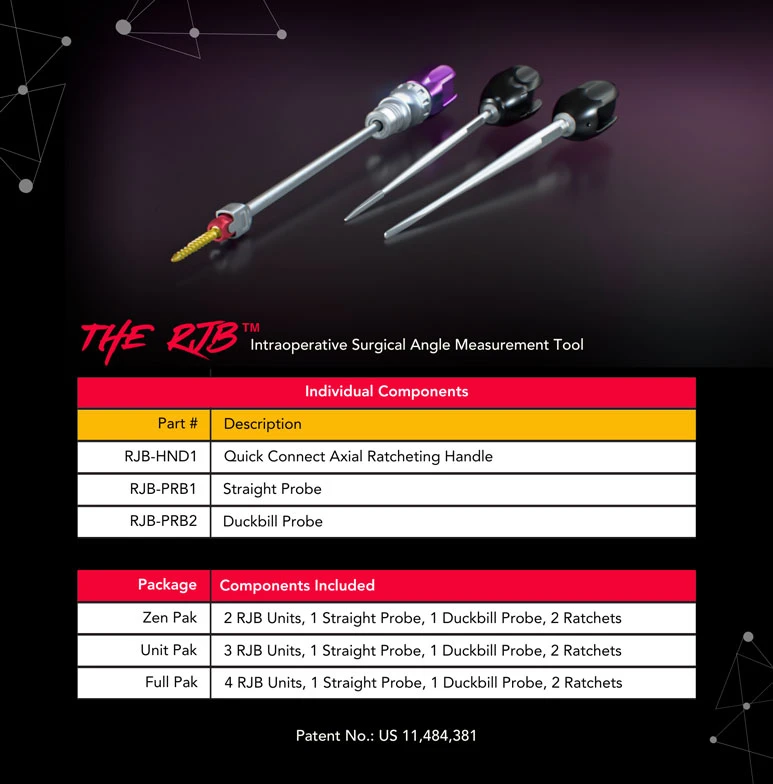
RJB™ User Guide
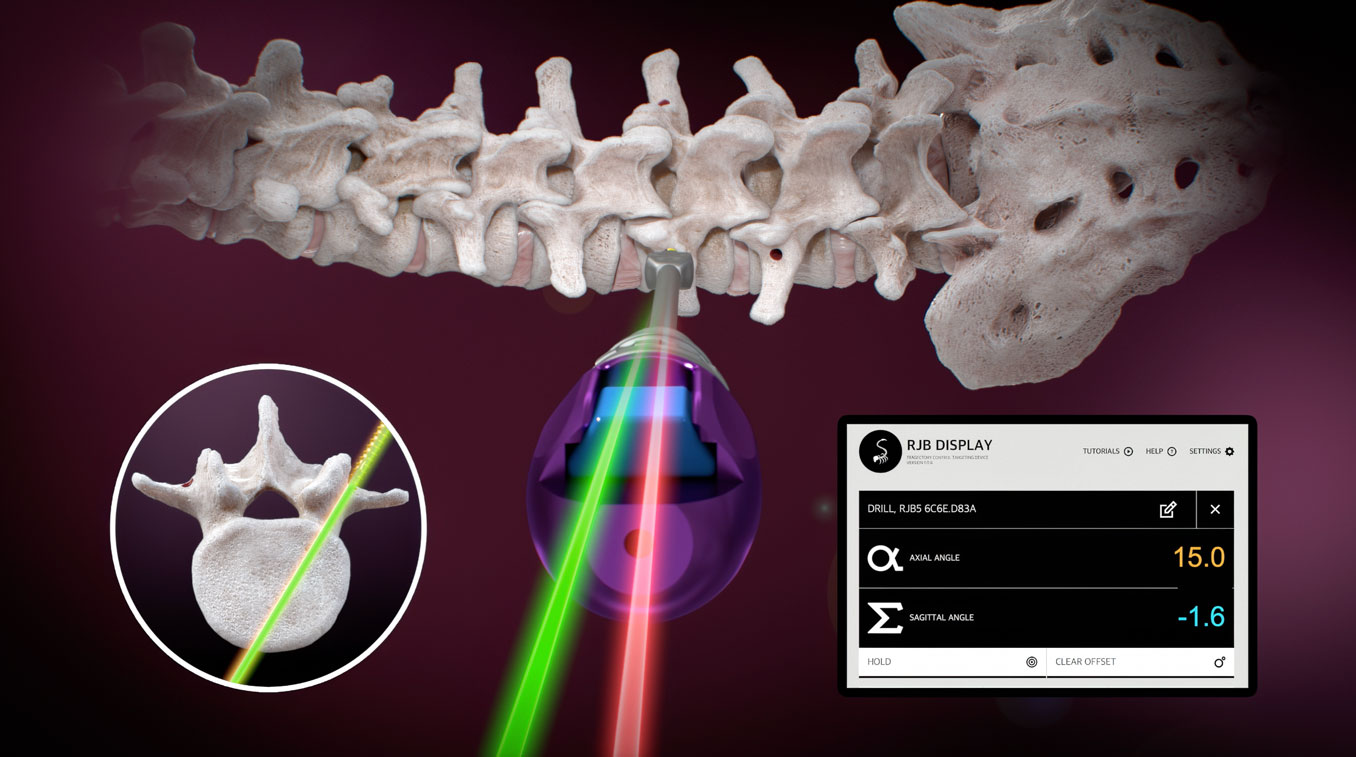
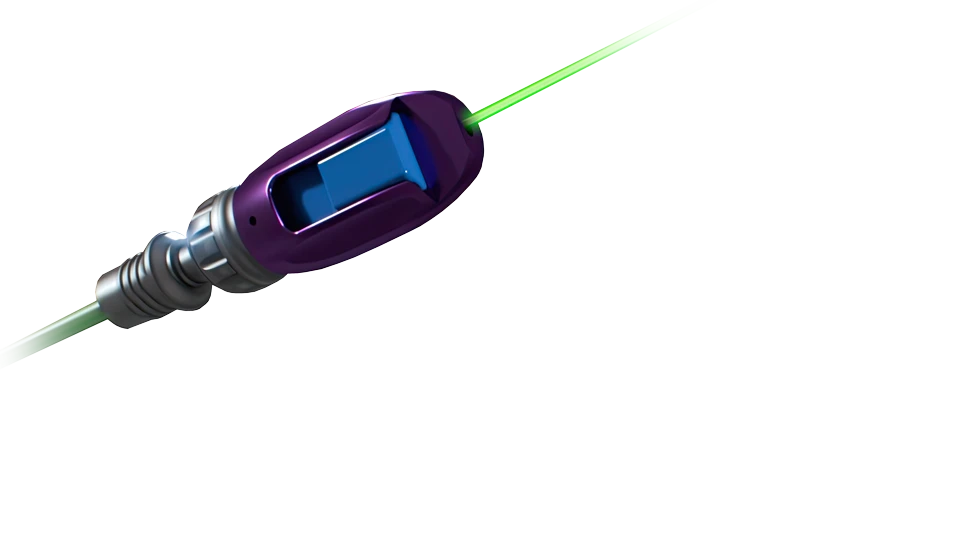
Detailed User instructions on using the RJB Intraoperative Surgical Angle Measurement tool for lumbosacral pedicle screw placement.
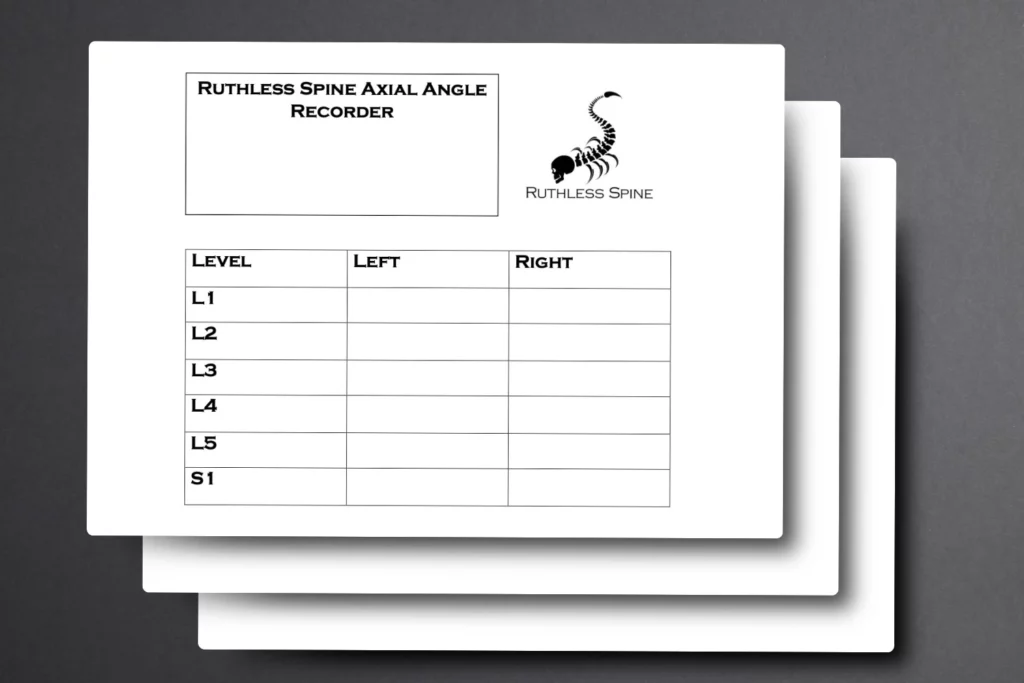
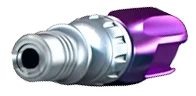
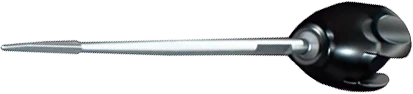
Ruthless Spine Axial Angle Recorder
Our Axial Angle Recorder is a tool that may help surgeons record axial angles at various levels of the lumbar spine while using the RJB.
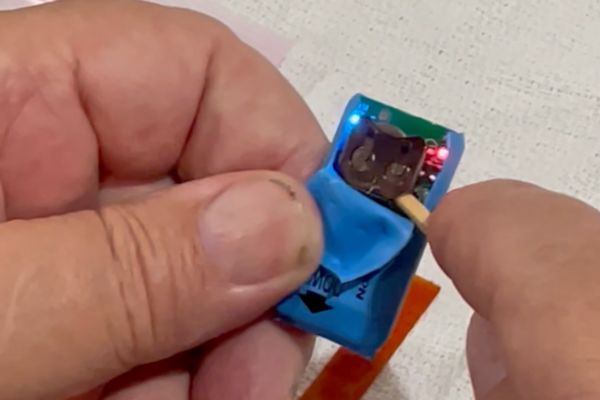
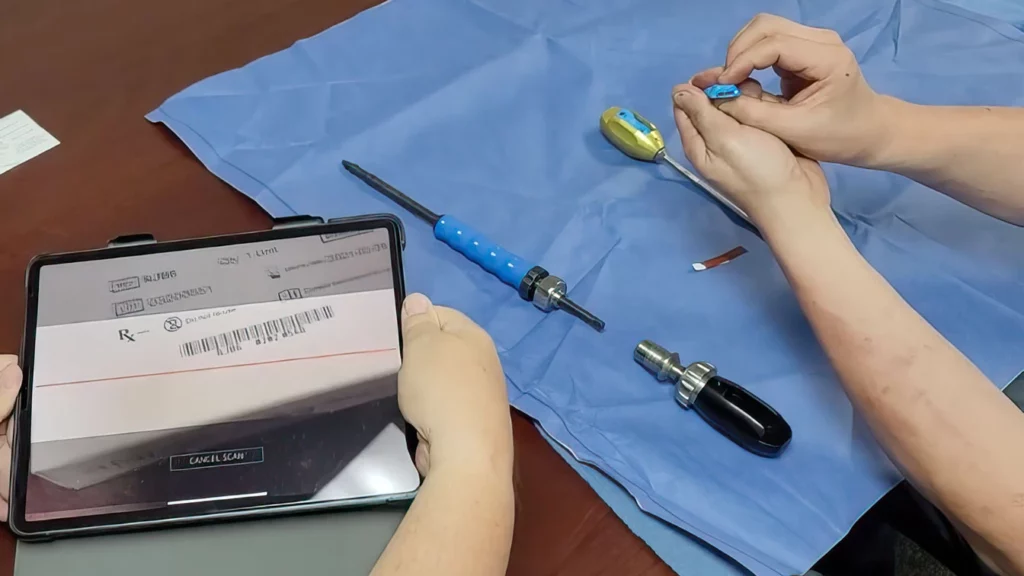
How to Change the Batteries in a RJB Demo Unit: A Step-by-Step Guide
In this step-by-step guide, we’ll walk you through the process of safely changing the batteries in your RJB Demo unit.
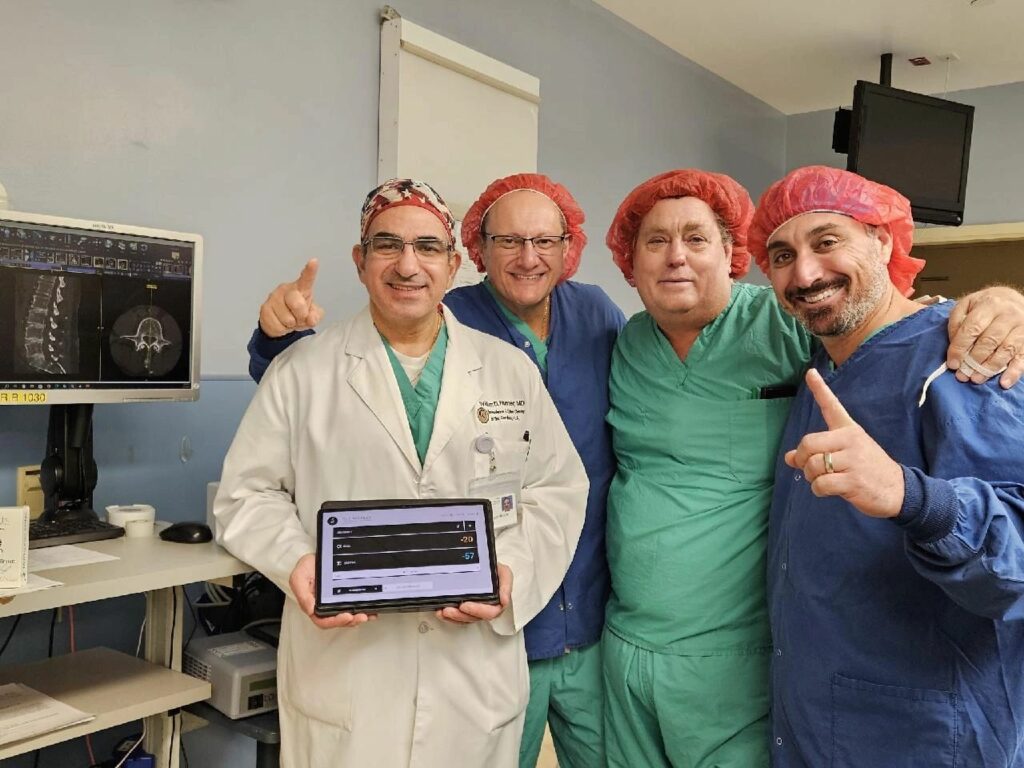
Ruthless Spine’s RJB System Hits the Market Running
Ruthless Spine proudly announces the launch of the RJB system, backed by impressive sales figures that are set to pave the way for an optimistic debt-free future.
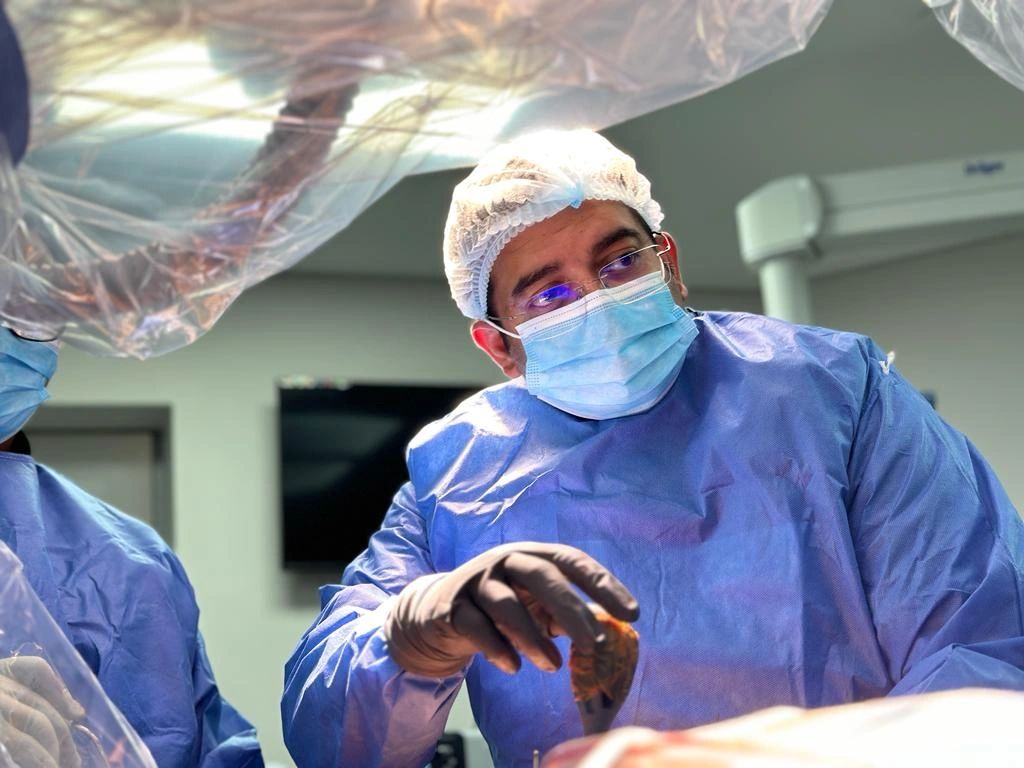
RJB Surgical Angle Measurement tool: Impact in Africa
Learn how a group of neurosurgery residents, armed with the RJB, embarked on a mission to Liberia, Africa, to transform the landscape of spine surgery in a region with limited surgical resources.
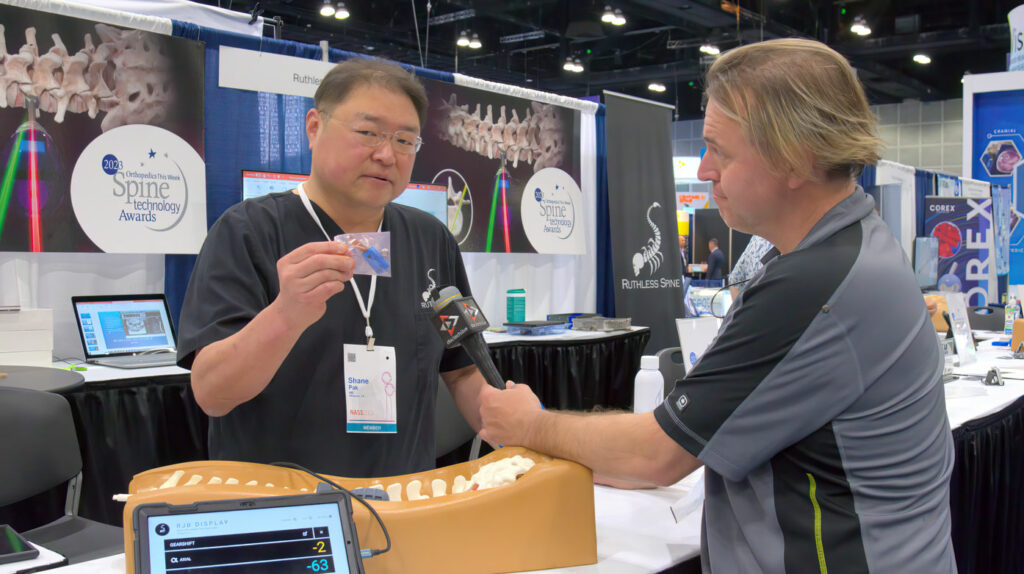
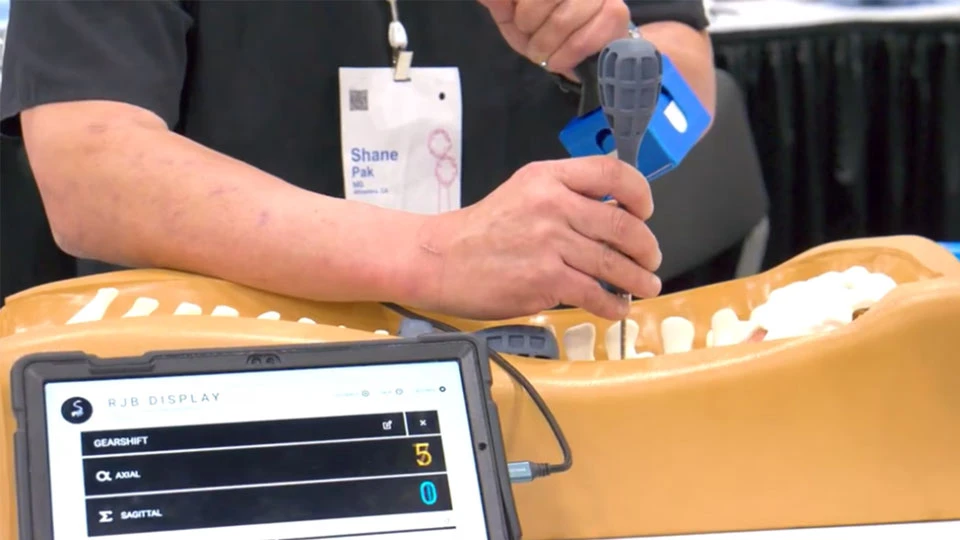
Ruthless Spine RJB At NASS 2023
The Interview With Dr. Shane Pak From Ruthless Spine At NASS 2023 Highlighted The Immense Potential Of The RJB System In Revolutionizing Spine Surgery.